Hello!
I hope everyone is doing okay.
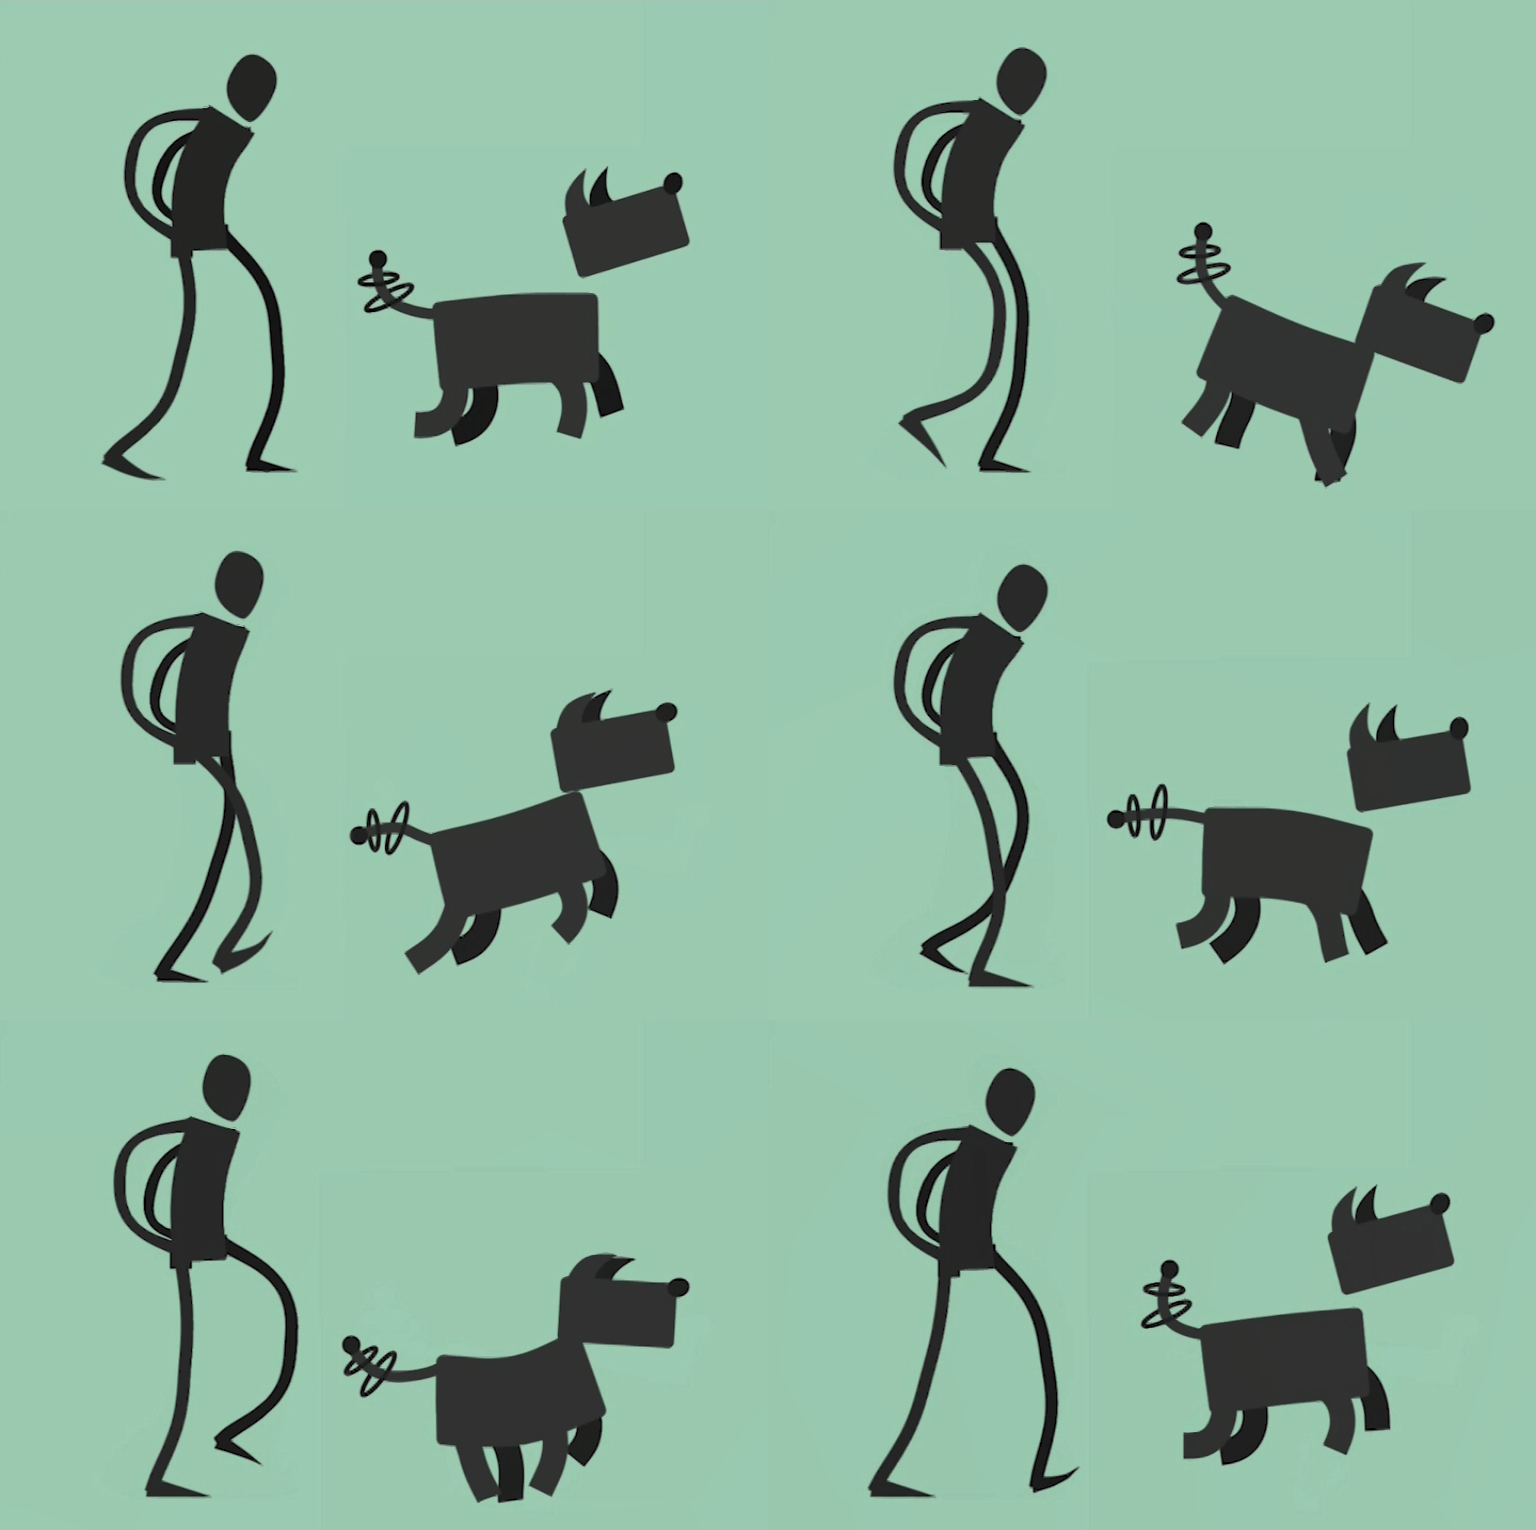
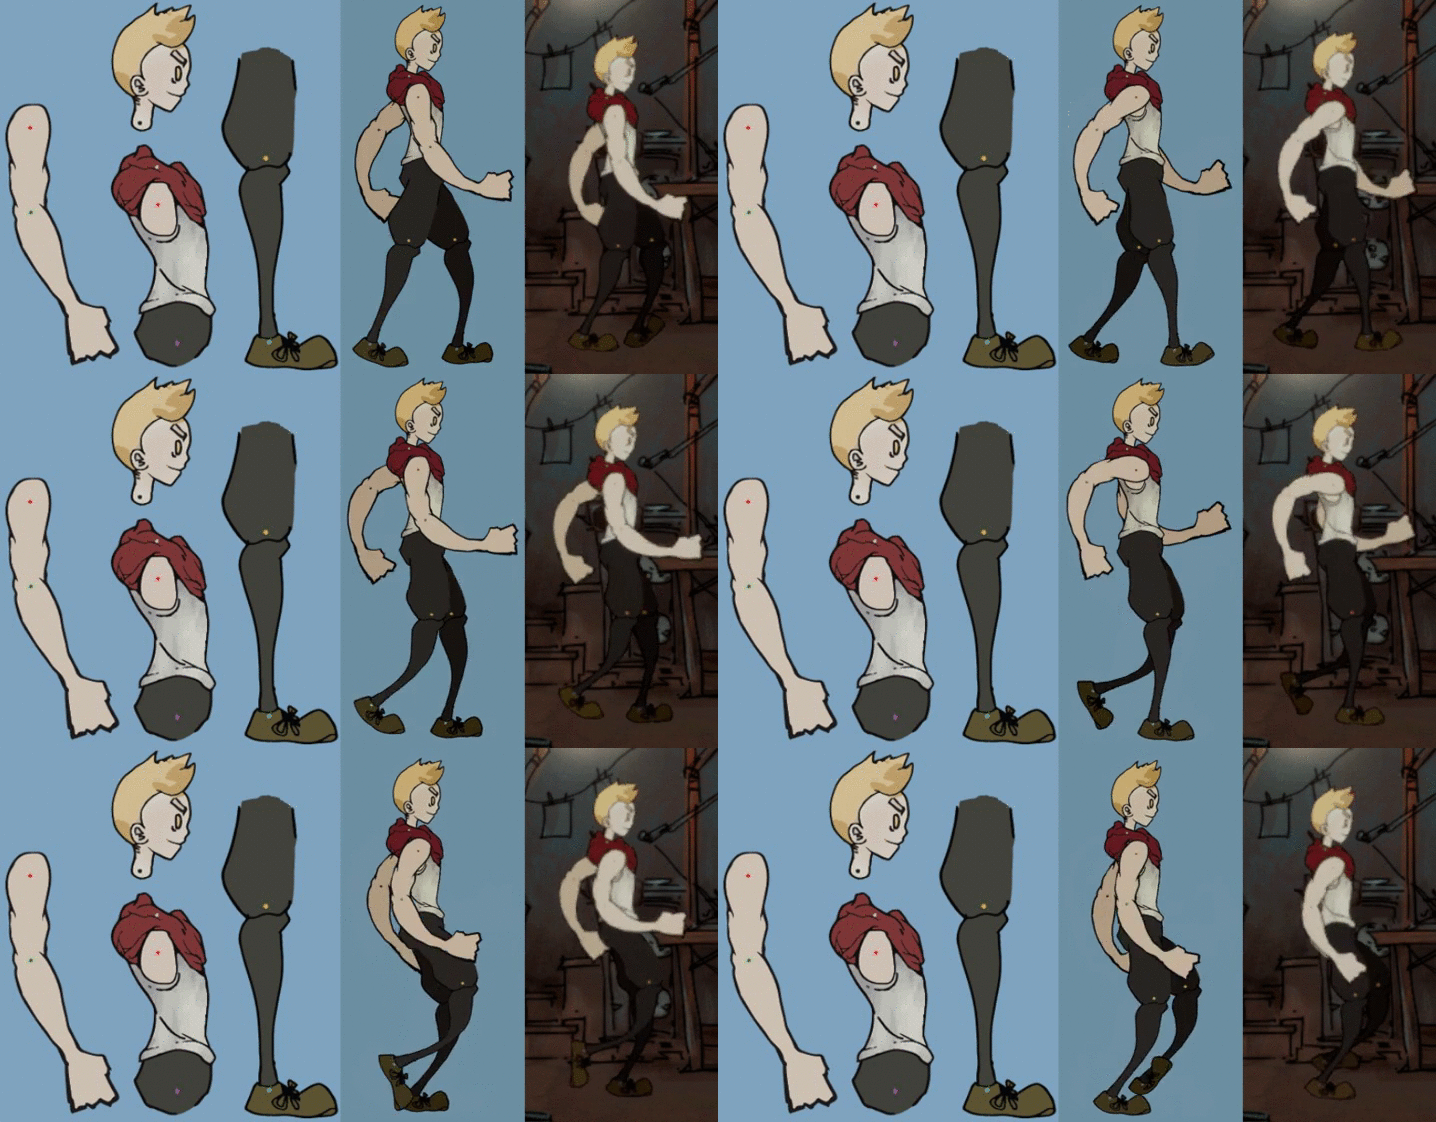
I decided to take some time to elaborate on how I rigged the characters for my 2nd year student game project, Canine 49. Our main inspiration for the animation style was the game Night In The Woods. It has a very flexible, almost rubber hose feel to it. To attain this effect, I decided to rig our characters in Adobe After Effects, combined with the Duik rigging and animation plug-in. To test out the pipeline from character creation all the way to animation, I made 2 walk cycles:
Everything worked very well. The process was quick, it didn't look rigid, and my team agreed it fit the style of our game. Next, I had to test out whether the same workflow fit the characters that our character artist would be designing. He illustrated an early version of the main character of our game. I rigged it, created another walk cycle and exported it to the game engine. And again, everything worked.
So, the process of creating these rigs is mostly based off this tutorial: Summit 41 - Adv. Character Rigging - After Effects. First, I pinned the separate illustration layers in the necessary pivot points using After Effects' built-in Legacy Puppet tool. I then used Duik to create bones from those pins, which I could use to create IK constraints and controllers. These controllers allowed for easy animation and clean files. We keyed the translation, rotation and scale of these controllers, tweaked the animation curves in the graph editor, and exported our animations as sprite sheets to the game engine. Below you can see how I received the illustration of the main character of our game, and the entire process of how I rigged him.
I had to add and tweak some processes though, to make it suitable for our game. Most notably, I added an easy way to use replacement animation (toggling between different illustrations for different hand gestures, blinks, etc.), and I found a way of driving multiple bones with one controller. The latter is most apparent in the dog rig. Each bolt at the base of its neck has its own bone, which allows the neck to rotate and scale correctly. Below is another process video of me rigging the robot dog. This was one of the most complex rigs of the project, because of the many bones, facial controls and flexible IK tail.
An important thing to note though, is that this workflow mainly works well for short animations, like game cycles. I used this method in a later project, which was a 4 minute long music video. Even though I divided the project into separate compositions, the software was running very slowly by the end of production.


